Step 21. Tell him that he is in the home stretch and that all that is left is the hind quarters. Tell him that the first thing to do is to lay the pair on the tail end and press on each hind quarter to see where the hip is. By spreading the hindquarters, he will see where to start. What he is looking for is the hip joint (ball and socket joint) No saws are needed for this operation and he only needs to cut the tendon in the ball joint to remove it from the pelvis.
Tell him to follow the seams in the meat and cut along the pelvis bone until one half is removed.
When he is done. he will have a de-boned pelvis with very little meat to trim off. Tell him that this trim will be used in those burgers or brats he enjoys on the grill.
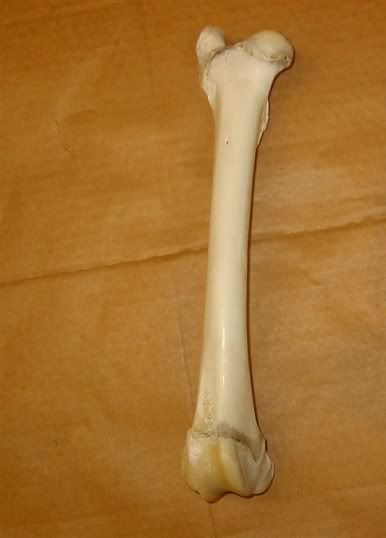
On the inside of the thigh he will be able to feel the thigh bone (femur). Cut around and remove the bone. This is the bone he is removing. The ball joint is on the upper right.
Once deboned his hind quarter will look like this. This view is from the outside or hide side of the leg. The lines show him the cuts of meat that are in the hind quarter. If he were to leave the bone in the leg and saw across the whole hind quarter, he would have a "Whole Round Steak" Most folks don't do this with a deer and it is seen less and less in beef as well
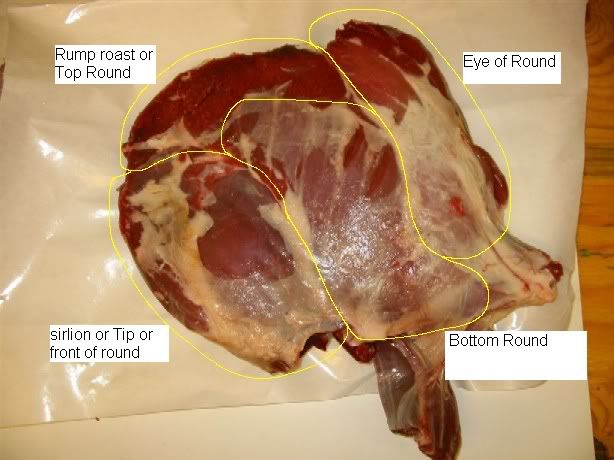
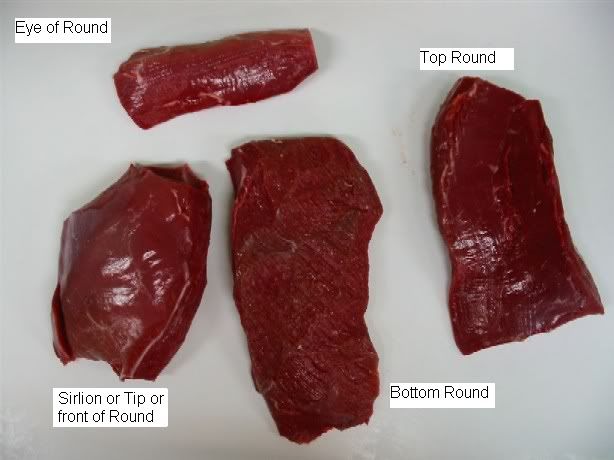
If he follows the natural seams in the muscle groups, he will be able to take each group out. Clean up any fat and he is left with cuts that can be sliced into steaks or used as roasts
Tell him that after he has gone through so much work to process this fresh venison, you he want to make sure it will taste good even after it sits in our freezer for several months. Remind him that no meat is ever improved by freezing but that he can make the best of it by protecting his venison from the effects of freezer burn.
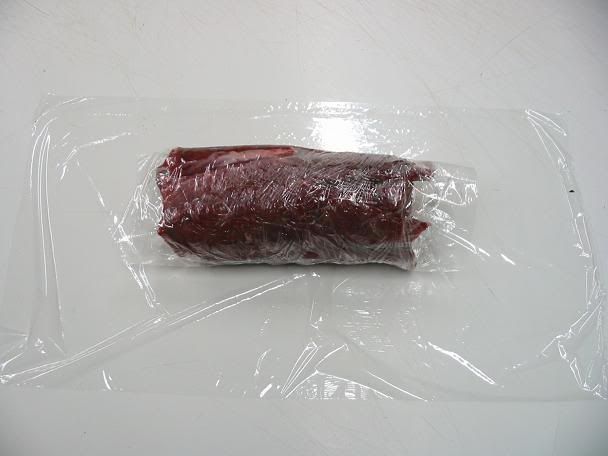
I prefer a vacuum sealer but not everybody has one. If you wrap your meat in butcher/freezer paper, it won't last long in your freezer. You need to use a heavy plastic wrap first. Wrap your meat in layers and press out as much air as you can. Start with a single layer of plastic wrap. Place the meat on the wrap and roll it up tightly. This will still leave the ends exposed it it is a large cut.
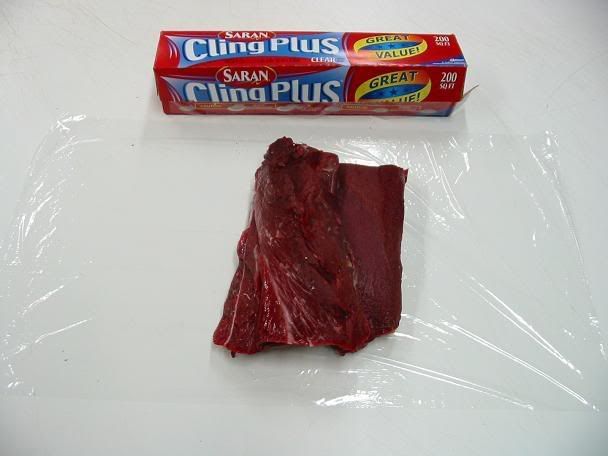
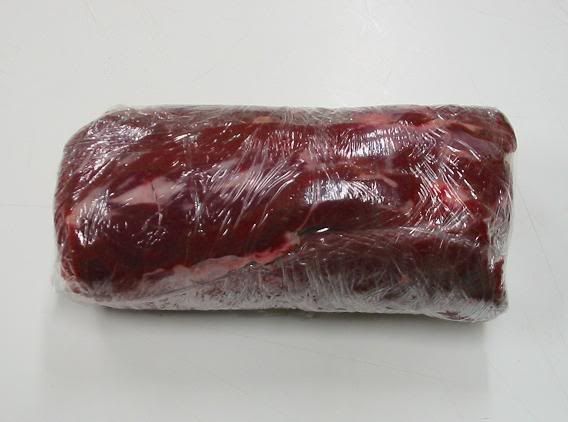
Next, wrap the meat in another layer of plastic wrap but this time, turn the meat and wrap in the other direction. Fold over the plastic wrap to protect the previously exposed ends.
While wrapping, squeeze out as much air as you can. You do not want a layer of air next to the meat. The plastic wrap should be in contact with the meat.
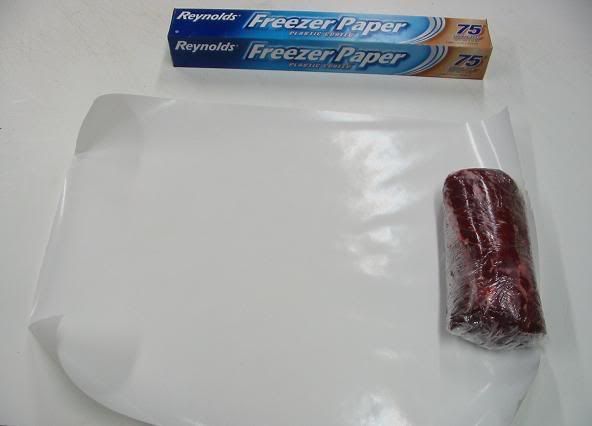
Now that you have two layers of plastic wrap over the meat. Wrap the meat again in a good quality freezer paper that has a plastic coating on one side. Use enough so that when you are finished, you will have two layers of paper over the plastic wrap.
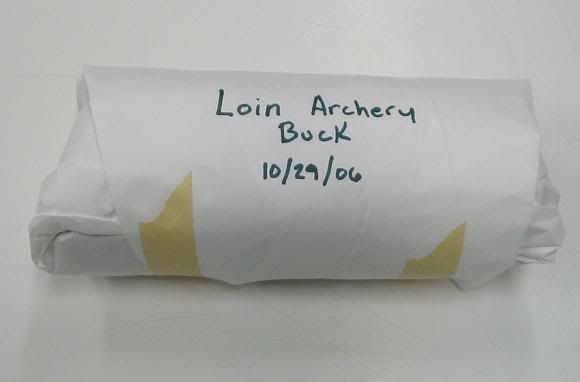
While rolling/wrapping, make sure to tuck in and fold the ends to make a good seal. Again, make sure to squeeze out as much air as possible. Seal the paper with tape, Identify the cuts and the date and this meat should last six months in your freezer. I have come across a lost package or two in the bottom of my freezer that were a year old and they were just as good as the day he wrapped them.
Now with all the work finished, do not wait for him to thank you for the life lesson. He will do that many years later and completely out of the blue. Instead, take the time to tell him all about bacteria and germs and how a clean butchering area is very important and how cleaning up after yourself is a noble trait. Tell him to make sure to turn off lights when he is finished.