So, enough waiting already. Time to glue this bow up. I laid out everything I needed since the dry run a few days ago. Then I put both quart containers of the epoxy in a basin of hot water to warm them up a bit.
Next, I cleaned all the wood and glass surfaces and laid them in the order in which I would glue them.
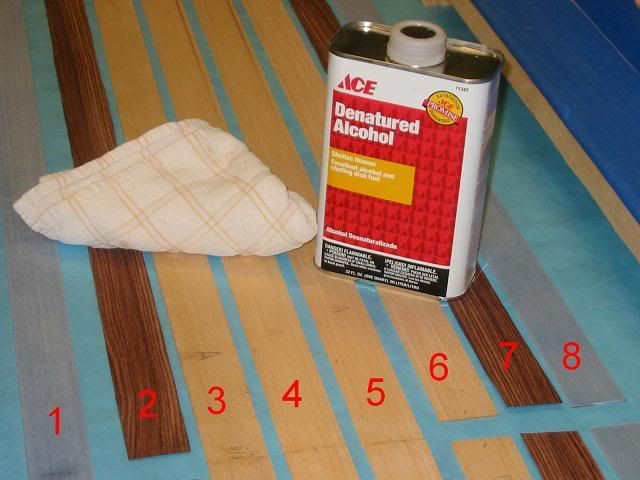
1. is .050 clear glass
2. is .020 kingwood vernier
3. is .090 thick hard maple taper (two pieces glued together to make one long piece)
4 and 5. is .065 thick hard maple taper (two pieces glued together to make one long piece)
6. is a piece of hard maple .060 parallel from the piece of wood my Dad cut. (two pieces glued together to make one long piece)
7. is .020 kingwood vernier
8. is .050 clear glass
Missing from the picture is the riser.
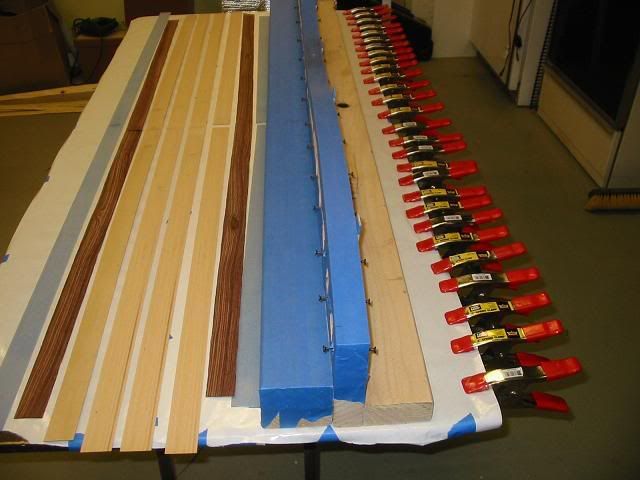
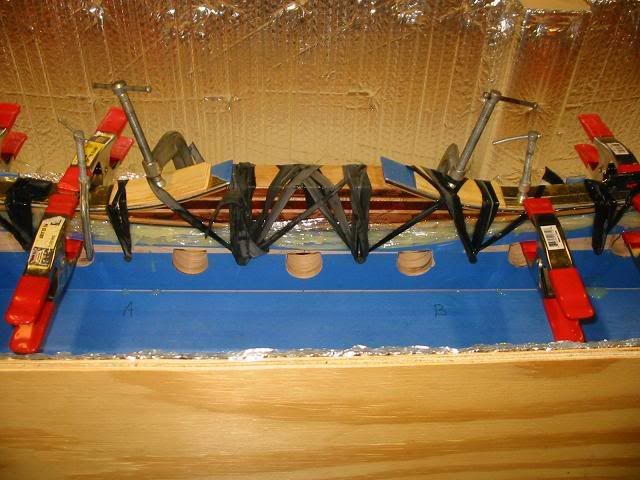
Fast forward to a completed glue up with the warmed epoxy. Due to the mess and the fact that I was working alone, I did not slip out of my sticky rubber gloves to take pictures along the way. What a slippery mess to work with. I used a combination of spring clamps and rubber inner tube strips to compress all the layers. I had more C-clamps at the center (on the riser) but I took them off once I realized that they stuck up higher than the sides of the box and the cover would not lay flat. So much for a complete dry run. I should have tried the lid of the box also. Oh well. live and learn.
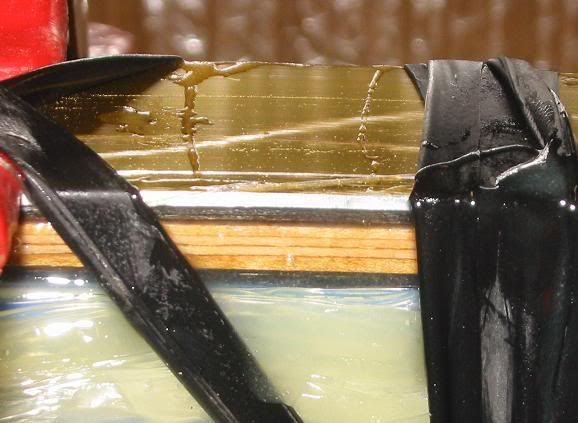
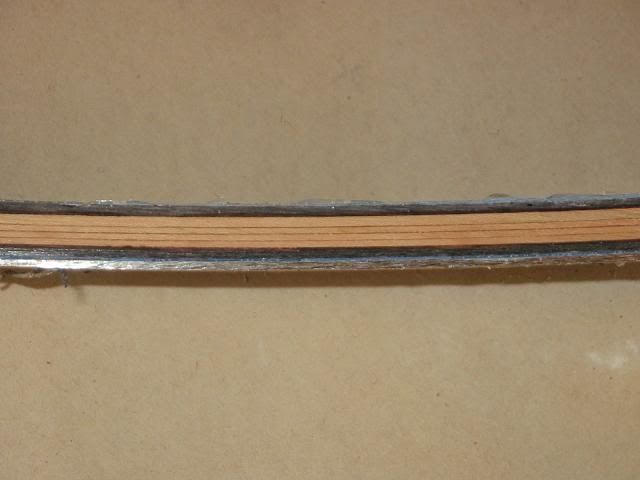
Here is a close up of all the layers and all the extra glue that oozed out. I also learned that I used too much glue. I think I could have built two bows with what came out from between the seams. Once again. Live and learn.
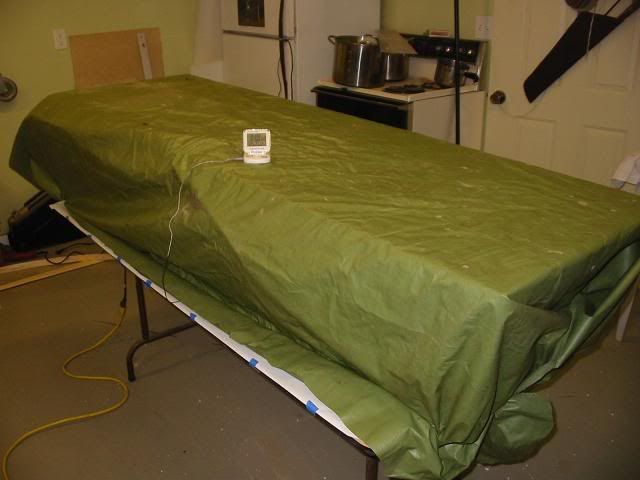
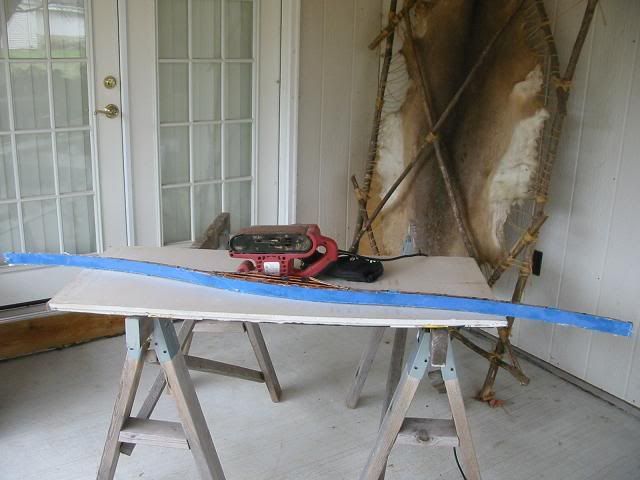
Here is the oven box doing it's job of keeping the bow at around 160F. I will unplug it before I go to bed and let it slowly cool down over night.
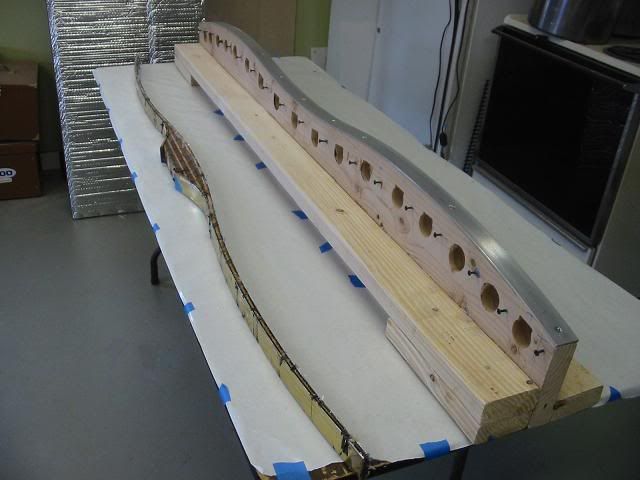
It was a day of ups and downs on the bow project. It took a solid hour to free the bow from the form. Removing the spring clamps was easy, The epoxy covered strips of inner tube proved to be a bit tougher. The form cleaned up easy because of all the tape I used to protect it.
The bow was a little tougher. The extra epoxy was everywhere and held bits of the inner tube captive.
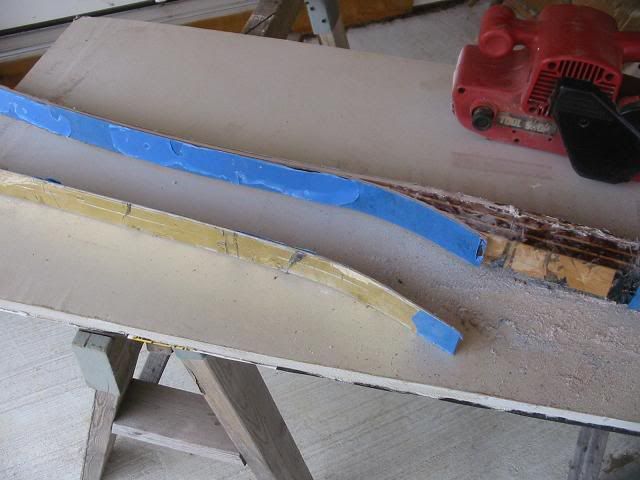
To save on a mess in the shop (and because it was a nice day) I took the bow out to the back patio behind my shop. The breeze would blow all that nasty fiberglass dust away.
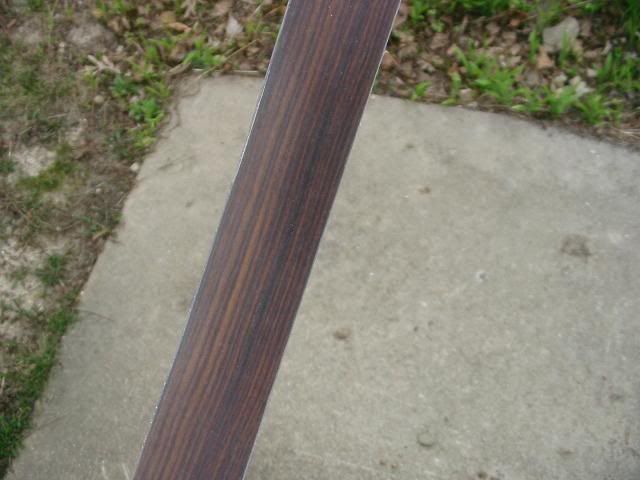
I learned that I need to place a layer of plastic wrap between the last layer of glass and the aluminum pressure strip. I didn't do that with this bow and needed to sand away the excess epoxy to free it from the bow. This also gave me my first look at the glue lines between the layers of wood.
after sanding both sides I could pry away the aluminum pressure strip.
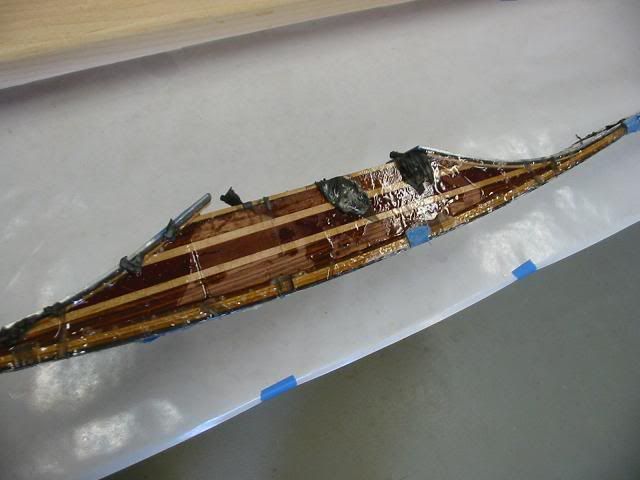
Then I just had to peel away the tape to see how the Kingwood looked under the clear glass.
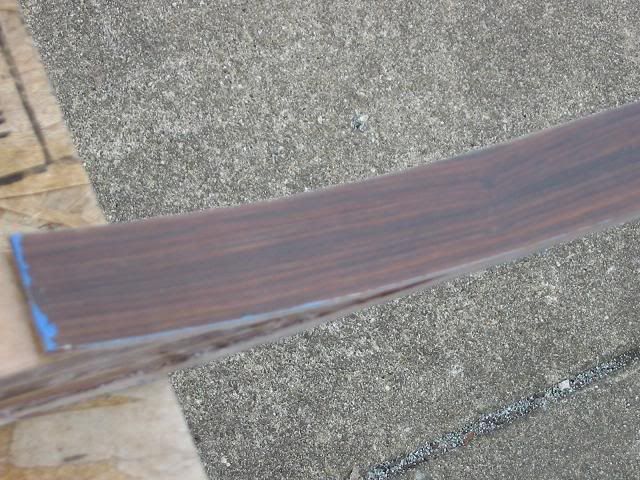
And the other limb.
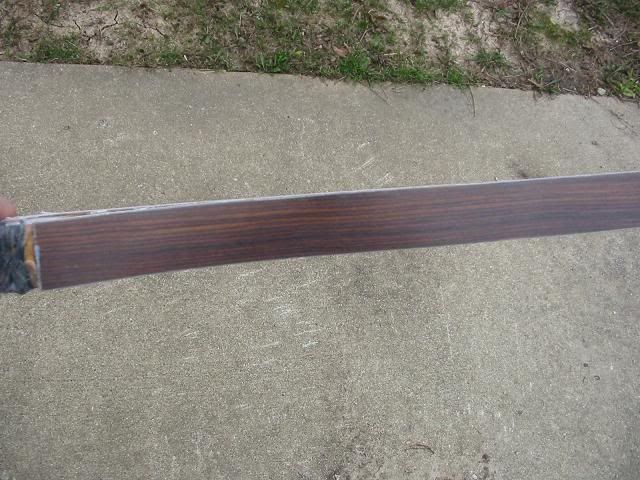
and finally the back of the bow. Everything looked good.